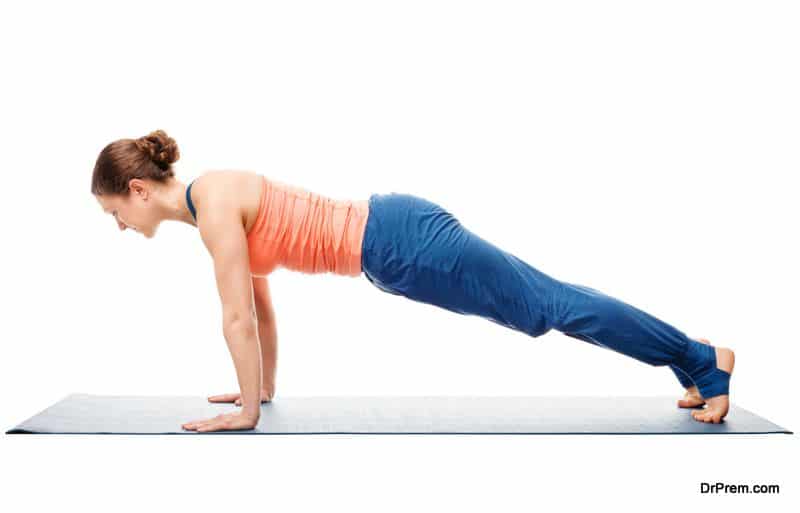
A preparatory pose for more challenging arm balances, the Plank Pose helps yoga practitioners provide strength and limberness to their spine and arms. The basic pose, with no fussy technicalities involved, is easy to master if you practice it daily.
Here’s a brief tutorial leading you through the various steps, cautions and benefits of Plank Pose.
Steps Involved
1. Starting with Downward Facing Dog or Adho Mukha Svanasana wherein your buttocks face the roof, bring your torso forward so that your arms become perpendicular to the floor. Your shoulders and wrist should be in a straight line, while your torso should be parallel to the floor.
2. Now, press your forearms and hands down without allowing your chest to fall. Let your heels feel the pressure as you shift your bodyweight slightly to your heels. While your heels should point upward, your feet should maintain a square position.
3. Finally, broaden your shoulder blades while making sure that your neck is perfectly aligned with your shoulder blades.
Benefits
As discussed in the beginner, the Plank Pose helps you develop strong wrists, quads, spine and abdominals. Moreover, it ensures a toned core you were aspiring for.
Cautions
Those having a history of carpal tunnel syndrome or degenerative low back problems should avoid Plank Pose.


