
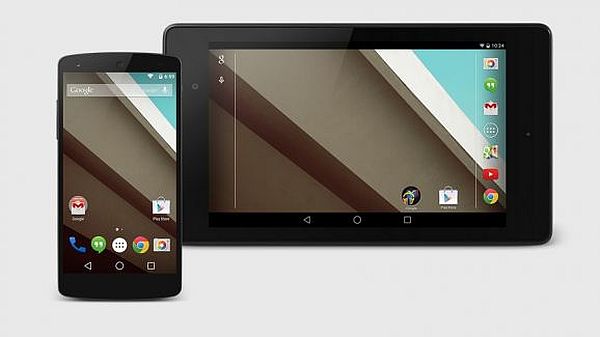
Unveiled at the Google I/O developers’ conference on June 25 this year, Android L is an upcoming release of the Android mobile operating system developed by Google. It comes with a significant User Interface refresh and an increased use of grid-based layouts. If you own a Nexus device and look forward to an update to the Android L, here is a step by step guide to help you with the process:-
Step 1: Prepare your device for the Install.
Make sure your device is ready for Developer Preview by following the instructions below. Also, ensure that you back up your important data before you consider going ahead with this:
- Go to Device Settings -> About Phone (or Tablet as the case may be).
- The activation process involves tapping on the “Build Number” 7 times in the settings if this is the first time you are enabling Developer Option. This option is hidden by default.
- After enabling Developer options, tap on it and check on “USB Debugging.”

Step 2: Prepare your computer for installation.
(Note: This could be a tricky part if you are not already familiar with basic Android app development and messing this up could mean rendering your device unusable. However, if you feel you want to proceed without waiting for Google to release it for public use, please follow the instructions given below)
- Install Java on your computer if you have not already done it. To install Java, download the latest Java Development Platform. You will need JDK (Java SE Development Kit), as JRE won’t work here.
- Install Android studio from Google for Windows. Further steps will only work if it recognizes Java. To ensure that it does, follow instructions on this page.
- Launch Android studio now, if you have come this far.
- Select the required packages for Android L Preview after going to the SDK manager. Look at the image given below to select the prerequisite packages.
- The next image shows you how to include the latest Google USB Drivers and other necessary packages from SDK Manager.
- Now that you have the latest (ADB) Android Debug Bridge and Fastboot application, you can confirm this from the Android Studio install directory. You should see these two files- adb.exe and fastboot.exe in platform-tools folder under sdk.


Step 3: Download the system image for Android L.
Having successfully prepared your computer as well as your Tablet/Phone for the installation, you can download the Android L system image by following these steps:
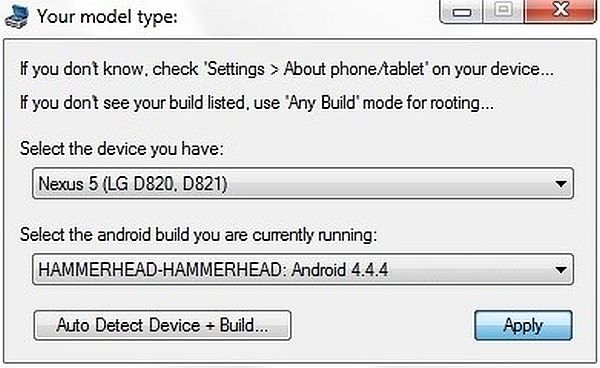
- Download the package necessary for your Android device by going to the Android L Preview SDK release page. Depending upon whether you are trying with Nexus 5 or 7, you may have to download different files. For example, the file for Nexus 7 is named as razor-lpv79-preview-d0ddf8ce.tgz whereas the other file available is for the Nexus 5.
- Unzip the downloaded file to a folder. This file will need to go from .tgz to .tar and finally to .zip from .tar. A 7-zip application was used to unzip this file on my computer. Similar applications that enable you to do so are available on the internet for free downloads.
Step 4: At Last, installing Android L Preview
Do not fret if you are finding all of this tedious, it is a complex process and you should be commended if you have come this far. These last few steps will help you install the required packages on your Nexus by using Android Studio:
- Connect your Tablet/Phone to your computer via USB and launch Android Studio.
- Install the necessary drivers for your Nexus by following the instructions on this page, once you have gone to your Computer -> Device manager.
- From the top menu, Select Tools ->Open Terminal. You will see a terminal on the bottom of your screen where you will need to enter the following commands to flash your device.
- To reboot your device, type in “adb reboot bootloader.” You should see the bootloader with big Android robot in the centre of your screen.
- Enter “fastboot oem unlock” in the command terminal and select the appropriate action from the confirmation screen.
- Using the terminal, find the downloaded folder where you unzipped the system image.
- Inside this folder, use the command “flash-all” to execute the script. Once executed, this script will install the necessary bootloader, firmware and the Android L operating system on your Nexus.
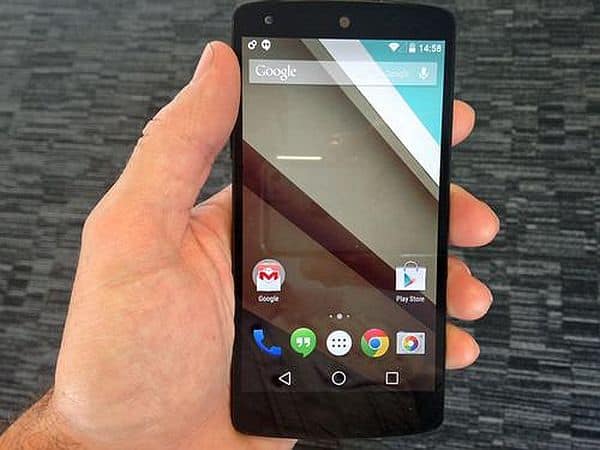
- After your device has rebooted itself (this could take 5-10 minutes), Check the device setting and about Phone/Tablet to compare it with the following image.
- If this information matches with the one on your device’s screen, you are now ready to enjoy Android L preview version on your Nexus.
Here is what you can expect to relish now after all that hard work. Apart from the responsive animations and other attractive implementations including smoother transitions and depth effects such as lighting and shadows, you will be pleased to know that Android L also aims to improve battery consumption through a series of optimizations known as “Project Volta.”