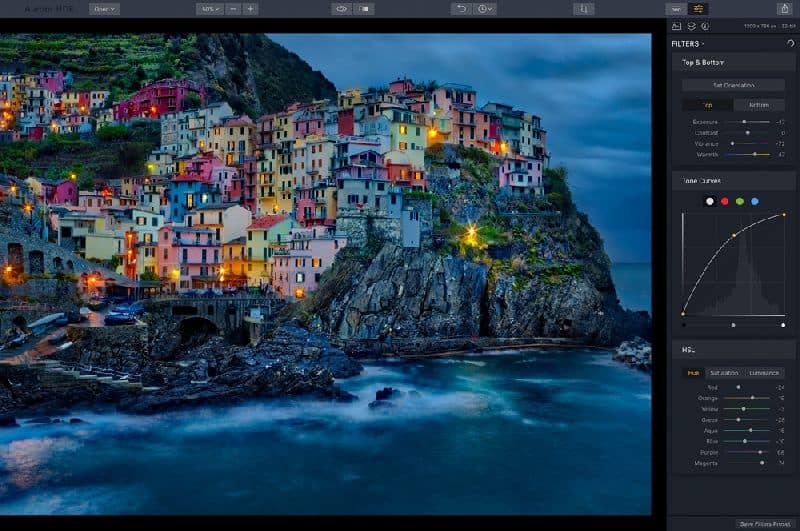
For all you software enthusiasts, it is time to rejoice, as the Macphun’s photo editing and effects software is finally available for windows. Aurora HDR 2018 is Macphun’s latest offering and is one of the toughest contenders for High Dynamic Range image processing for PCs. So let us test the new image makeover software for a little spin and see if it lives up to the hype.
What exactly is Dynamic Range?
In the world of photography, it refers to the difference between the darkest and the lightest point in an image. More like pure black and pure white. Let us consider a black and white gradient. Now consider a smooth shift from black to white with countless grey tones that fall between the blackest and the whitest spot. This range of difference between the highest points is termed as dynamic range.
The HDR technique in photography tries to create this difference in the images by combining multiple shots taken up in different exposures. Normally, this is established by incorporating three or more images for shadows, midtown and highlights. These are then fused together to form a HDR image by using various software available today.
Comparison Aurora HDR with other programs:
The best way to determine if Aurora HDR is worth your money is to compare it with other programs that offer similar functionality. We decided to take a series of images and processing them using Aurora and other software such as Nik HDR Efex Pro 2 and Photomatix Pro 6. The images were then judged based on the best possible outcome.
For the first Image, Aurora HDR stood out in every possible way. It was able to pull out the right amount of details and was also able to highlight the area under the shadows without making the image look flat or artificial.
For the second image, even though it was a tough fight, Aurora HDR was able to score the maximum points. The amalgamation of colours after the filter was applied was way to soothing to look at. It was just a step away from being over the top but still enough to make one pick the best out of the lot. Photomatix was the runner-up. Aurora did manage to win the overall contest, but, in the end, we believe it all comes down to personal preference and one’s taste for the ridiculously vibrant colour scheme.
Ways to bring out the best of Aurora:
It is understood that the images, which are to be used, must be shot in a RAW format without any preselected presets. Just the way we did while comparing the output formats.
Adjusted TIF files using the Lightroom can bring out the best results. It can help in avoiding flat colours and in bringing out the depth in the colours.
Before jumping to guns and processing the image, make sure you look into the presets carefully and accordingly decide as per the intended purpose of the image. Aurora’s presets range from one end of the spectrum to the other. This will save ample amount of time and will help in delivering the best possible results.
The wide range of adjustments can give you substantial control over an image and its final look. However, the adjustments when used lightly can give you the best results. For instance, out of let us say 100, only up until 20 could give us our desired results. We advise you to go through all the presets from the start all the way up until the end and see which ones can bring out the best visual appeal.
Always make sure you set your background to neutral grey. As editing in HDR can alter one’s perception of image’s contrast, neutral grey helps you recognize if the colours in the image seem a bit rusty or unrealistic while processing. Also editing on a black background makes it difficult for one to understand the colour scheme in the final image.
Always save your last used preset. It is one of the best practices to make sure you save the combinations that you come up with as custom presets. This will help in reviewing what you did to arrive at the final result. In addition, if you have shot similar images, this will definitely save ample amount of time on edits.


