Nowadays, many homeowners are opting for textured finishes on their walls in order to add more dimension and visual interest to a room. A textured finish can act as a focal point of interest and can make your room look more decorative, while lending character to it. There are different ways in which you can achieve the swirl pattern for your walls. Given below are the steps you would need to follow in order to achieve the swirl effect for a wall. We have also added some of the common types of swirl effects you can take inspiration from for your home.
Steps to Get the Swirl Effect for Textured Walls
Things Needed
You will need some tarps, a drywall knife, a roller, a joint compound like plaster, a rubber grout float and stucco paint.
Steps to follow
- Clean out the room. Remove all the furniture and cover the floor with tarps to prevent staining due to drips. You may also want to cover the windows with some old newspapers to avoid splashing paint on them as you work on the wall.
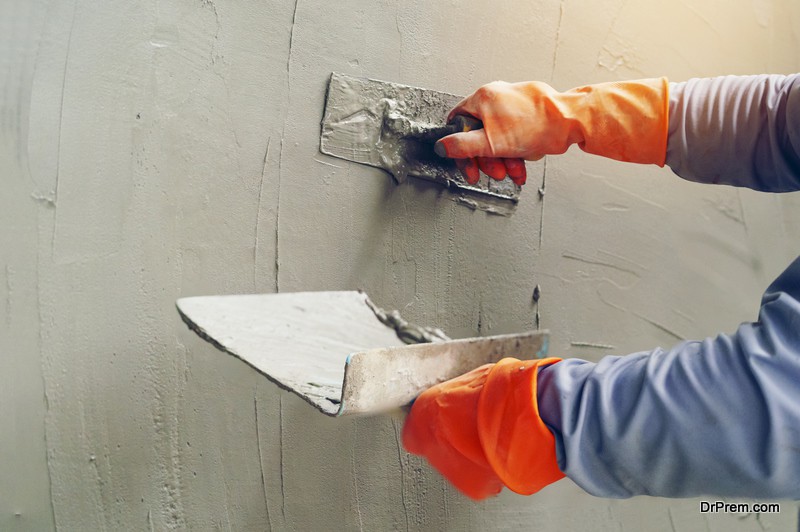
- Using the drywall knife, scrape off the peeling paint and debris from the wall. Next, spread the plaster (joint compound) evenly over the cracks, depressions and holes to smooth them out. You need to ensure that these surfaces become flat and even. Leave the plaster to dry for a full day.
- Mark a small 4 by 4 foot section of the wall at one end. Using the paint roller, roll the stucco paint on this surface, covering it with a nice and thick layer of the paint to make it stay on the wall.
- Press the grout float into the stucco paint. Twist the float in the clockwise direction, making sure you keep it firmly pressed against the stucco on the wall. You will get a circular swirl pattern in the stucco.
- Move over to the next area and recreate the swirled circle with the help of the grout. Start the second swirl at the edge of the first to ensure continuity. Make more swirled circles one after the other until you cover the entire 4 by 4 foot area.
- Section off another 4 by 4 foot area of the wall and apply stucco paint on it. Using the grout, recreate the swirled circle patterns over the entire area. Ensure that the patterns in both areas integrate seamlessly. Continue the process for the entire wall. Wait for the paint to dry (it would take a day or so) and move your furniture back into the house.
You must follow these steps when opting for swirl patterns for your walls. Deviating from the standard swirls, here are some alternate swirl patterns you can try out as well.
Ordered Swirls
In this case, the swirls follow each other in an ordered pattern, thus giving a uniform texture to the wall. The swirls would be of the same size and would give a well-balanced look to the wall.
Random Swirls
In this case, the swirls need not be of the same size. Neither do they need to follow an ordered pattern on the wall. Arranging the swirls in different directions would make the texture richer and more noticeable. You can use the same brush to create different sized swirls on different areas of the wall. Use a sand paper to smooth out imperfections or ridges in order to even out the wall’s texture.
Sand Swirls
In this case, you can use perlite paint and create sand swirls on the walls. Perlite paint is basically a primer which has sand mixed in it. Hence, it would give the paint as well as the all a visible texture. In addition, you can make swirls on the same to achieve a wonderful texture. Use a flat paintbrush and apply the perlite paint to the wall with arc like movements, making sure that the arcs overlap each other nicely.
Summary
A swirl pattern can add more depth and visual appeal to a room. If you are intent on creating the swirl pattern on the walls to give it more texture, follow these steps to achieve the same in a timely and cost effective manner.