Many times, you end up shaking your camera and capturing blurred images that seem to have lost the details. While this may also happen with a professional DSLR camera, here are some tips and tricks that can save you by reducing the shake. You can actually try the Camera Shake Reduction feature in Photoshop CC and improve your pictures significantly. Let us see how you may do so to save your precious pictures.
Kind of images it works on
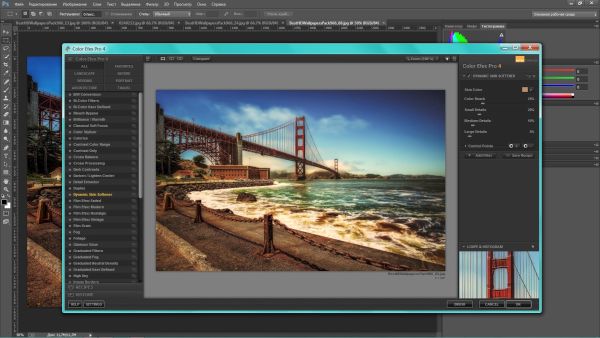
Image Source : Hit2k.Com
While shake reduction can detect motion in a blurred image and rectify it through sharpening and other techniques, it may not work in case of all blurred images. If your picture is good, then it can definitely make it better. However, a severe case may not be treated to your expectations. This feature in Photoshop CC works best with images that have low noise and sufficient light.
Use the shake reduction filter

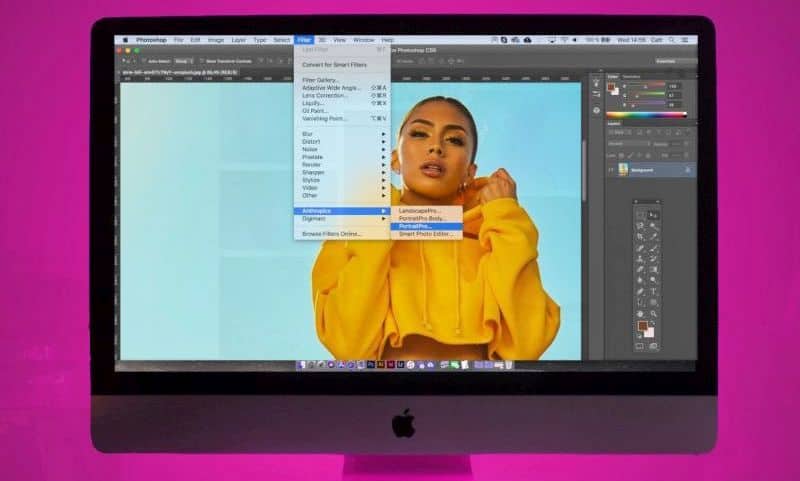
Image Source : BongoBytes.Com
When you start mending a blurred picture, open it in Photoshop and then open Filter > Sharpen > Shake Reduction. It will automatically detect the right areas needing improvement and make corrections to show the final picture in the Shake Reduction dialog box.It can reduce the blur happening due to linear and zigzag camera motion, as well as rotational and arc-shaped camera motion.
Use blur traces in Advanced panel
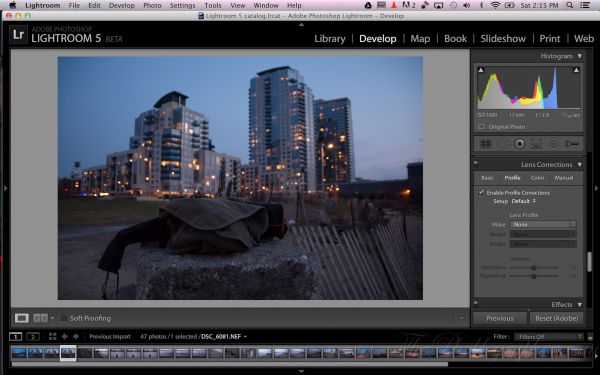
Image Source : Wpengine.Netdna-Cdn.Com

For further fine-tuning, you can move to the Advanced panel and check out the blur trace for your picture. A blur trace will show you the extent and shape of the blur in your picture’s specific region. While the automatic shake reduction only takes into account the default region for blur estimation, you can make finer corrections using this advanced feature. Simply zoom in on a specific blur trace and fine-tune it.
Create a blur trace for modification
Image Source : Macos-App.Com
Photoshop also lets you create your blur trace. Use this option to create blur traces in regions where you find edge contrast. Photoshop also suggests some of these regions for blur estimation. You can simply create your blur traces by drawing a selection rectangle. You can also use the Blur Direction tool to create your blur trace. Further, you can use the Detail loupe feature to modify your blur traces.
Use multiple blur traces
Image Source : PhotoshopTutorials.Ws
You can also make comparisons by selecting multiple blur traces and making changes to these. Comparative changes can help you select the more appropriate ones.Additionally, blur trace duplication can also help you make the right changes in your image.
Other shake reduction tips
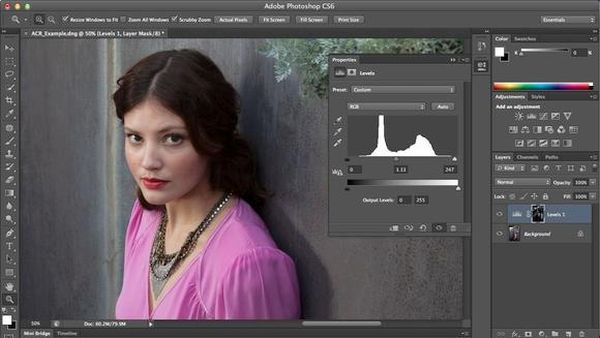
Image Source : Kodevreni.Com
In the Advanced settings, you can also adjust the value of blur trace bounds, noise, smoothing, and artifact suppression yourself in accordance with what better suits your image. This can give you better results at times.
If you have clicked well-enough pictures but they have gone blurred, make use of the automatic shake reduction feature in Photoshop CC to improve it. There are also various advanced settings in Photoshop that can help you make custom changes for shake reduction.