
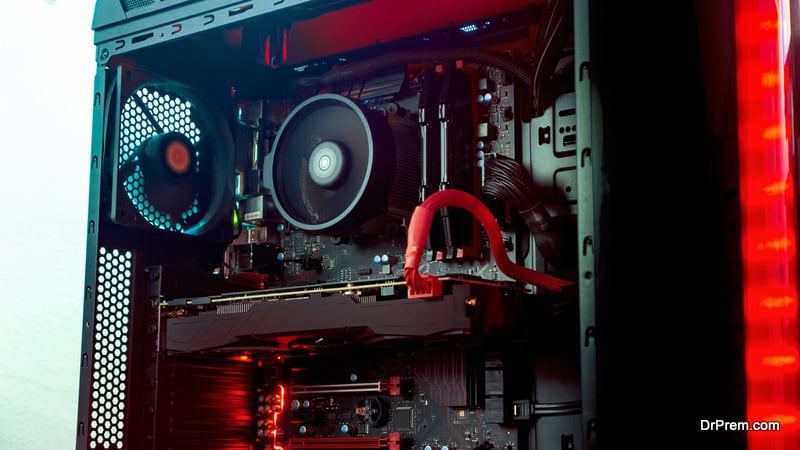
Games are your own world where you can be Batman, Spiderman or challenge your friend for a friendly fight. Talk about games from any genre, it starts from PC. The best thing – building a gaming PC is not difficult. Yes, if you are new to the process, then you may find it tricky. That is why we are explaining the steps to put together a gaming machine. We have built many PC’s in our labs for different experiments, but this time we will aim to put together a classy gaming rig with high performance components with best specifications. Here is the recipe: start cooking.
Deciding the hardware
Elements required to build a computer are easily available to purchase and offers uncomplicated installation. Hardware components required to build a gaming PC are as follows:
Processor or CPU (Central Processing Unit) – Intel Core i7-8700K – 8th generation (37, 699 INR/$369.99)
Memory (RAM) – G.Skill Trident Z RGB 16GB DDR4-3200 x2 (32, 000 INR/$164.99)Storage – hard drives or solid state drives(SSD) – Samsung 970 Evo 500GB (12, 883 INR/$119)
A graphics processing unit (GPU) – MSI GeForce RTX 2070 Gaming Z (63, 000 INR/$555)
Motherboard – MSI Z370 Gaming PRO Carbon AC ATX(20, 843 INR/$198)
Power supply unit (PSU) – EVGA SuperNOVA G3 750W (14, 065 INR/$89.99)
System Cooling/AIO cooler – NZXT Kraken X62 (14, 108 INR/$159.99)
Case – MSI Z370 Gaming Pro Carbon AC (20, 843 INR/$198)
Computer peripherals – ( mice, keyboard and headphones)
Display – Monitor or television
We are building the PC using the above-mentioned hardware components, you can buy the same or look for something similar to be on a budget.
Some basic instructions before you start
a. Start building the gaming PC on a table to avoid any static electricity or you can buy an anti-static band.
b. Take a small torch for lighting or you can use the smartphone flash.
c. Do not touch any circuits on the motherboard, processor or any other hardware.
d. Always refer to the motherboard manual before you make the connections.
e. Keep a versatile screw driver/Philips screw driver.
Step 1: Install the processor
a. Remove anti-static overlay of the motherboard and place it on the table.
b. Lift the metal covering over motherboard’s processor socket by pushing the side lever down, then to the side.
c. Open the processor box, match its arrows and notches with the socket. Keep the silver side up, place the CPU on the socket, lower the socket covering and push the lever arm back. No need to apply any extra force as the processor will not attach with the socket, the lever does the part.
Step 2: Place motherboard inside the case
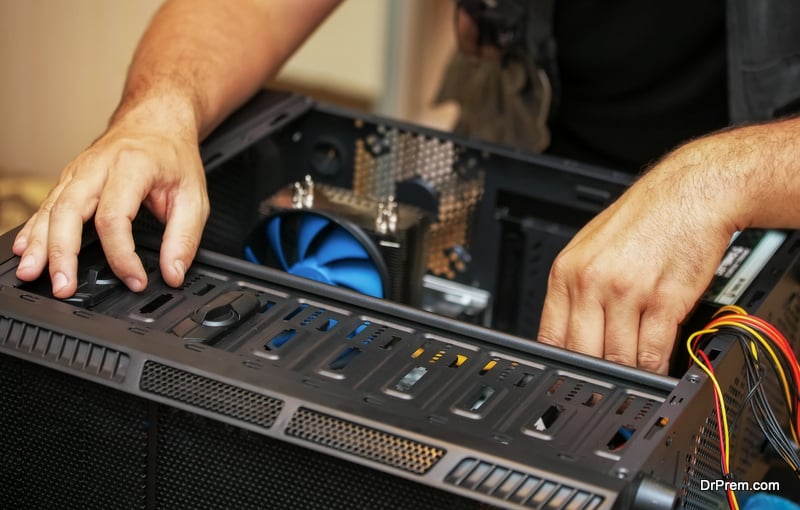
Open the new case by opening screws at its back or sliding the side cover and place it on the table. Install the motherboard firmly, without applying any extra pressure and tighten the screws back. Make sure that the I/O shield is properly oriented to the motherboard. Do not over tighten the screws.
Step 3: Install the M.2 SSD, if any
Always read the motherboard manual to know the right port to install M2 SSD. Once you see the port, remove the screw in front of the port. Gently place the M2 in the port, press it using a finger and tighten the screw back without applying any force.
Step 4: Install power supply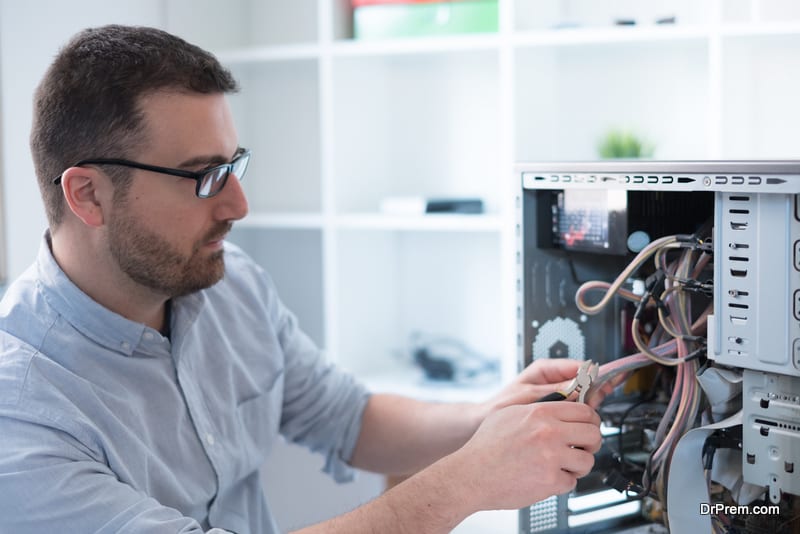
a. Take out the power supply unit from its box and connect all the cables one by one by checking the given manual for right connections. There should be four cables – 24-pin ATX connector, PCIe cable with two 8-pin PEG connectors for video cards, 8-pin EPS12V connector for the motherboard and a SATA cable for storage.
b. Screw the bracket with the PSU and place it at the bottom of the case so that the rear vent, on/off button and power plug should be facing outwards. Tighten the screws on the PSU. The fan needs clear airflow, so if you are using a different case and do not see the vent at the bottom, then orient the PSU so that the fan faces up inside the case.
c. Pass all the cable through the hole given at the bottom of the case.

Step 5: Connect all case wires to the motherboard
You will see multiple connections from the case to the motherboard. USB and Audio ports on the motherboard are labeled but still, refer to the motherboard’s manual to make the right connection.
Step 6: Make connections to the motherboard
As we have installed the power supply unit and plugged the cables, we need to connect the other ends. Route the EPS12V and ATX cable through the case cutouts and connect them to the motherboard. For proper airflow, keep the cables tight and well arranged.
Step 7: Install the AIO cooler
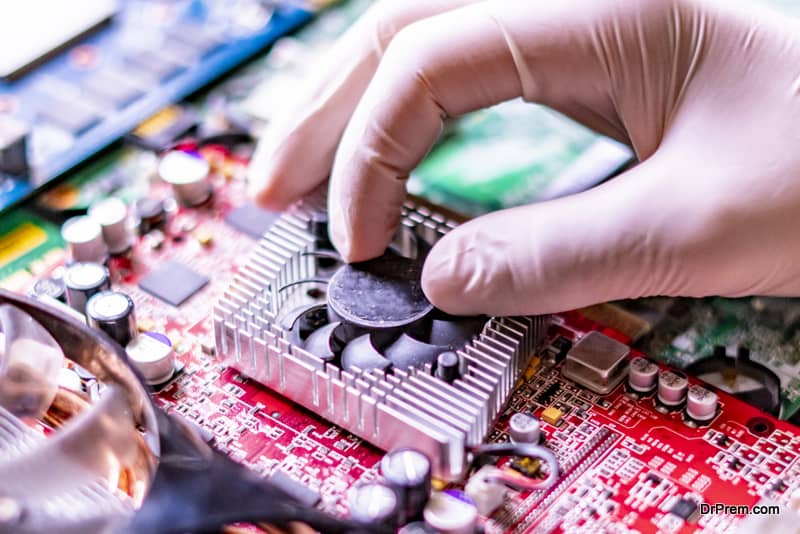
a. Once you take out the Kraken X62, you will see two backplates – one for AMD and another for Intel, prepare the one for Intel by moving sockets on all four corners to the innermost side and install it on the rear of the motherboard.
b. Install the four standoffs to the front of the motherboard and install the pump with the retention bracket on the processor.
c. Connect the fans to the radiator and then the radiator to the case. Refer to the manual for extra help.
d. Remove the protective plastic from the pump, align it to the standoffs on the motherboard and tighten the screws in a crisscross function.
e. Connect the power cable – first with both the fans with four pin power connector, then with the PSU SATA connector, to the four pin fan connector on the motherboard and finally to the power cable set to the pump. It is easier then it looks.
f. Connect the mini USB cable to the pump and to the available 2.0 USB port on the motherboard.
Step 8: Install a hard drive or SATA SSD
If you have already installed the M.2 SSD, then you can skip this step. But, one of the most affordable methods is to use a SATA hard drive for backup purpose.
a. The case here has numerous 2.5/3.5 HDD bays. Use a desirable hard drive and attach it into the bay with its ports facing towards the motherboard.
b. Plug one end of the SATA cable to the hard drive and another to the SATA port on the motherboard. SATA cables should be included with the hard drive and motherboard. Refer to the motherboard’s manual to avoid any errors.
Step 9: Insert the memory (RAM)

Before installing the memory sticks, refer to the manual. Unlock the memory slots by pushing its hinged tabs on both sides, match the notches on your stick as well on the slot and place the sick. Apply some pressure until you hear a click sound. The tabs should hold the stick once it is installed properly.
Step 10: Insert the video card
a. Unscrew the cover plates from the left of the PCI Express slot.
b. Place the graphics card on the PCIe slot and press it firmly. Re-insert the screws on the case that you took out in the previous step.
c. Route the 6/8-pin PEG connector from the PSU and connect it with the card.
Step 11: Plug in the peripherals

Before you close the case, use the manuals and make sure that all the cables are connected properly. Use zip-ties or twisted-ties to arrange and tighten the cables. Plug in the power cable, monitor, keyboard, and mouse. Power on the system by pressing the power button of the case. If you see any error message or beep codes, switch off the system and re-seat/tighten the hardware components like the memory stick or video card.
Once the system is up and running, you just need to update the BIOS. Copy it from the manufacturer’s website using another computer and a flash drive. The last step is to install any operating system of your choice. Google is the best help for OS installation. Be proud that you assembled this high-performance gaming PC and remember to clean the interior dirt every six months.