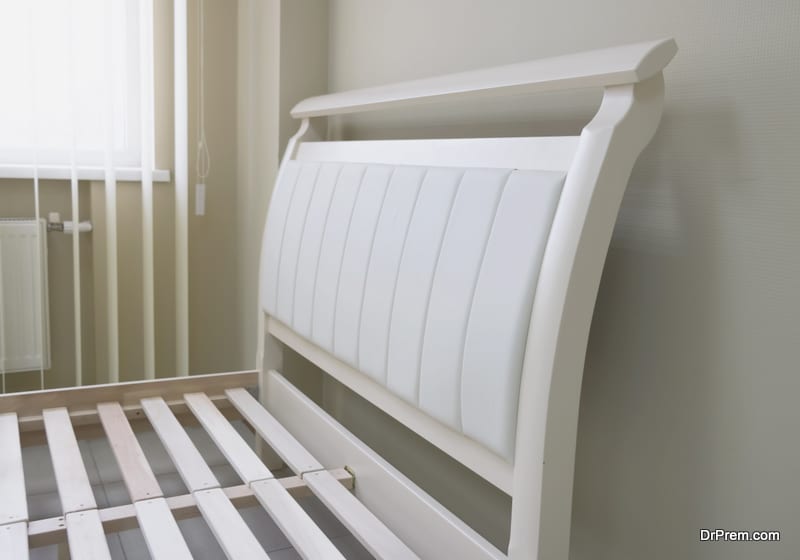
Those days are gone when one had to prop up a pillow every time one needed to read bedtime novel. These days, comfy headboards have become a new trend. They are not only comfortable but also make for an interesting décor. It’s never too late to pamper yourself with such a vital accessory in your special comfort zone. Just followe these steps, and make your own fabric headboard! Image credit
Resources
• Tape for measuring
• Plywood, sand paper and saw
• Upholstery foam and batting
• Muslin or sheet
• Decorative fabric
• Cording, braiding and trims
• Electric drills, staple gun and screws.
Estimated cost: Not more than $100
Instructions
1. Measure the bed size using the measuring tape
Take the estimated measure to prepare your fabric headboard. Remember that the fabric headboards are nearly the same width of your mattress or wider than that. A cue for measurement is that 8 inches of your fabric board should be seen when your pillows are propped against it.
2. Outline the shape of the fabric headboard
Using paper, stencil the outline of your headboard. A round headboard gives a softer look. Using this paper as an outline, place it on your plywood and cut out the wood using a power saw. This makes the basic structure of your headboard.
3. Sand the headboard
To give a smooth and workable wood surface, sand paper the wood surface with medium grit sandpaper along the edges and surface of the plywood.
4. Now get ready with the foam
Spread out the foam and cover the wooden frame, cut the foam with an excess of 1 inch around its margins. Place the foam over the wooden board and staple it secure, and have it firmly glued with a spray adhesive.
5. Upholstery batting
Cover the foam with upholstery batting and cut it 2-4 inches bigger than the wood base. Using the staple gun, staple the batting and the foam at the back of the wooden frame, making sure you have smooth and even edges.
6. Fix the sheeting
Cut the plain white sheeting 4-6 inches larger than the wooden frame along its shape. Staple it secure at the back of the wooden frame, make sure all the fabrics are fastened well at the back of the wooden frame.
7. Cover with the decorative fabric
Lay out the well-ironed decorative fabric you have chosen for your headboard. Spread its face down and place the covered wooden frame over it and cut it in an excess of 4 inches along the shape and size of the wooden frame, and firmly secure this decorative fabric at the back of the frame just as the previous materials.
8. Affix the top
Start stapling the decorative fabric from the center of the top surface and move on to the back, making sure all along that there no creases on the decorative fabric. Make sure it is well smooth and even than to be very tight and puckered.
9. Staple the bottom
Once you have stapled nearly 12 inches from the top, start stapling from the bottom, maintaining smooth and rounded margins. Continue working the same manner along all sides.
10. Staple the sides
Now start stapling the sides of the fabric, making sure that the margins are smooth, rounded, and frontal surface is not uneven.
11. Linen backing
To give a well finished back frame you can staple a clean, plain, linen sheet to hide all the excessively secured foam, batting and fabric.
12. Final furnishings
This is the last step to mount your personalized headboards. You can attach leg stands to the board or support the board with the mattress. You can also attach the board to the wall or drill holes in the legs and attach them to the frame of your bed.
We advice
• If you have a larger bedroom, you can use the headboard as the central focal point by using free standing headboards. In case you have a smaller bedroom, you can select the appropriate material and fabric that will suit your bed and personalize it on your own.
• You can also create headboards of different shapes and sizes instead of the regular rectangular shape. Go creative!
• Instead of trying to locate the wall studs use molly and toggle bolts to mount your headboard brackets onto the wall.
• You can always update the look of your bedroom by occasionally revamping the headboard.
• Try different materials other than just fabric for headboards. You can use leather, wrought iron, wood etc. to spice up the look of your bedroom décor.