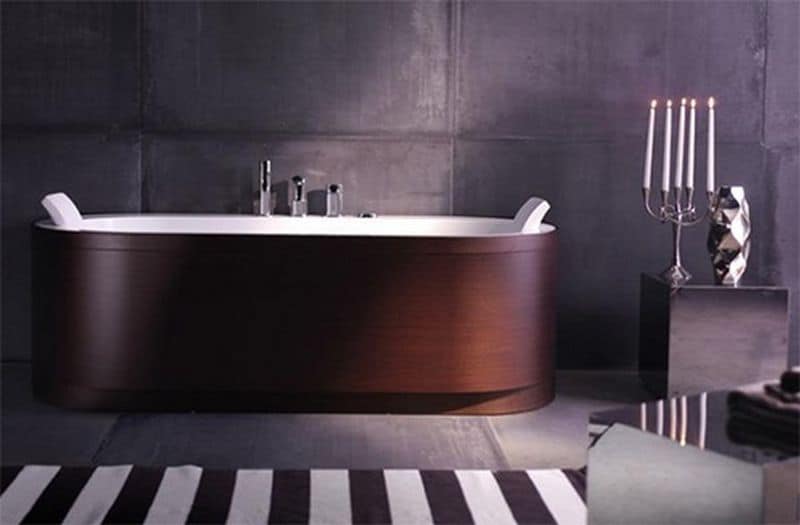
When you get back home from a long day’s work, it’s truly relaxing to enjoy a cool bath in your bathtub with some soothing music playing in the background! What can be better if that bathtub is wooden and also made by you! Sounds impossible? Think again. Here are some simple steps to help you create your own wooden bathtub:
Things you will require:
Wooden tub bottom, tub bands, tub benches, wooden hot tub staves about 3 to 5 feet long, carpenter’s level, dowel pins, chine joists, nails, hammers and screwdrivers, saw and power drill, screws, water pumps, hot tub filter, hot tub thermo well and hot tub jets, suction fittings, heater and hot tub skimmer, epoxy sealant, timer with an on/off switch, GFCI and PVC piping.
Steps for making a wooden bathtub:
- You need to decide on a location for the bathtub; ideally it must be sturdy enough to support the occupant and the tub should be sheltered from extreme windy conditions. A concrete porch, which is a minimum of 3½ inches thick, is needed to prevent the tub from sinking. The surrounding area has to be uniform for it to function well.
- Three chine joists must be placed on the site with two on both ends of it and the third at the center exactly. The size of the wooden bathtub shall determine the length of each joist.
- The tub bottom has to be placed along these joists and cedar-like wood cut to fit your desired size with holes for pumps. These holes should not be covered by the joists.
- The bottom has to be fixed with dowel pins or nails and bolts in a way that they do not hurt the user’s feet.
- Suction fittings are fitted with the screwdriver at the twin bottom holes but not too firmly, else when the wood begins to swell, the water may seep out.
- Wooden tub staves have to be put along the bottom of the bathtub’s length. The skimmer hole of one of these staves should be close to the suction holes. Slide two tub bands over this whole series tightly about 18-30 inches from both the top and bottom portions of the wooden bathtub.
- Use about 4-6 nails both above and under the bands for tightening these. Ensure that the nails are at the same distance and should not be jutting inside.
- Use epoxy sealant to fasten all seams between the wooden planks and give it a day to dry up.
- Cut wooden planks for benches according to the pre-determined size and get 2-by-4s for support. These benches should not be more than 26-inches deeper than the water line and the 2-by-4s are to be 1½ inches above this mark.
- Fit these 2-by-4s properly with bolts on the bathtub sides. These should not cover jet holes, yet these must be long enough to extend up to the tub sides but not large enough to poke through. The bench planks have to be tightened with bolt.
- The skimmer has to be placed at the designated hole and fixed with screws and sealant around its edges. The skimmer must have PVC piping and the connections sealed properly with sealants to avoid leakage. Attach hot tub jets at the right holes with bolts and screws – as many as 12 to 24 of them have to be fitted all around the wooden bathtub at equal distance. The high speed ones are to be placed on top holes and used only during usage of the tub whereas low speed ones can be used even if no one is using the tub. Put the PVC piping inside the “T” lengths. These are to be connected to the outer jet attachments. Use sealant to make it water resistant.
- Connect the pump lines, low speed jets, high speed jets and skimmer to a water pump and again use sealant to fortify all connections.
- The water pump is then connected to a filter and water heater, also fitted with PVC piping. From the filter, a line of PVC piping is to be connected to a thermo well for temperature regulation. The timer and control box wires have to be attached to this water pump. This timer helps to prevent the water from stagnating.
- Finally, you can fill your wooden bathtub with water and turn on the heater and the filter.