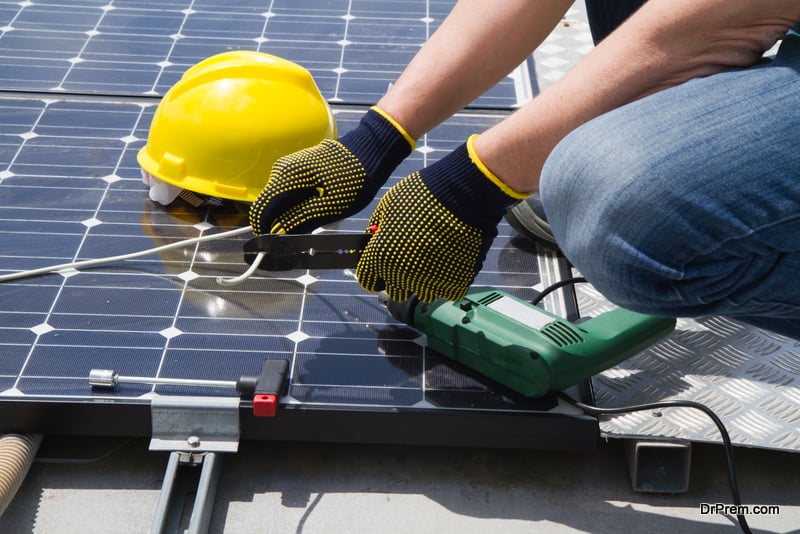
Under tremendous pressure of rapidly increasing, unending requirement of electricity, researchers are leaving no stone unturned to enhance efficiency of commercially available solar cells. Solar energy is the most promising solution to both the energy need and climate change.
Commercial cells are mostly silicon based and require standardized processing and manufacturing. However, a basic solar cell can be created at home using easily available materials. The end product cannot be compared to commercial ones, but it can surely enhance your knowledge on how a solar cell generated energy from sunlight. We have explained DIY solar cell in some easy steps for you.
Material Requirements
First step is to ensure collection of all items that are required to create a solar cell. The list includes, Titanium Dioxide, 2 binder clips, Acetone, two glass plates, graphite/lubricant stick, a multi meter, cotton pads, swabs, alligator clips, aluminum profile, 2 shallow dishes or bowls, spoon, de-mineralized water, Raspberry, Blueberry or Blackberry juice, iodide solution, and cooktop/hotplate. All the listed material will cost around $30-$35.
Clean the Glass Plates
Use acetone and cotton pads to clean both sides of the first plate. Once cleaned, do not hold the plate from anywhere except edges. Repeat the process with the second plate.
Check for Conductive Side
Reach out for the multi meter and check for the conductive side of the plate. One of either side will be conductive so just flip the plate if you do not detect it first time. Keep the conductive side up. Repeat the process with second glass plate. This time, keep the conductive side down so it stays as clean as possible.
Apply Titanium Dioxide on the Plate
Pour some water to the shallow dish and add about six grams of Titanium Dioxide to create a solution. Make sure you still it well to remove all the lumps from Titanium powder. After the solution is ready, use a spoon to take a little solution out of the bowl and place it on the plate. Spread it out on the entire surface but avoid going close to the edges. In order to equally cover the entire surface, use two stacked plates and aluminum profile or anything that solves the purpose.
Bake Titanium Oxide Plate
Now, you need to bake the titanium oxide to the plate (conductive side up). Use a cooktop or hotplate to slowly warm it up to avoid cracking the glass. Leave it to heat up for a few hours so that the Titanium Oxide can bake onto it.
Soak Titanium Oxide Plate into Berry Juice
Pour berry juice in the second bowl and dip the plate in it for about 10-15 minutes. Let the juice cover the Titanium Dioxide. Take this part seriously as the berry juice and titanium dioxide are responsible for producing electrical current.
While one plate rests in the berry juice, reach out for the second plate that was put aside (conductive side down), clean it again with acetone and cover the entire surface of the conductive side with graphite using pencil or lubricant.
Now, take the other plate out of berry juice and rinse it to make sure additional liquid on the surface is wiped off with cotton.
Assemble both Plates
Now, you’ll need to put the plates on each other in a way so that about half a centimeter on both plates’ remains exposed. The exposed surface will be used to attach the plates to the alligator clips. You can use bind clip to hold the plates together. Before putting them together, to enhance conductivity, put a few drops of the iodide solution between the plates.
Remember, the plate with Titanium Oxide works as cathode (negative side) and the non-conductive, carbon coated side as anode (positive side).
Finally, your DIY solar cell is ready for testing. Attach the alligator clip on each of the exposed part of each plate and to the leads of the voltmeter. Note down the reading. Now, put the solar cell in front of a source of light and again measure the readings. The meter will show you electricity current in millivolts. Compare the two reading and you will be able to calculate how much current your cell is generating.
Summary
By following the above mentioned steps, anyone can easily create a working solar cell at home. Basically, you’ll need to prepare a cathode and an anode, for which two glass plates are used. Here, Titanium Oxide covered glass pate is cathode and carbon-coated plate is anode. Cleaning it with acetone ensure that no dust or stains could disrupt the smoothness of the surface. Also, Titanium Oxide must be baked onto the glass plate properly. Remember, iodized solution is used to enhance the conductivity between plates; therefore, it must be spread equally between the two plates. The final product will not appeal to you visually, but it’ll work.


