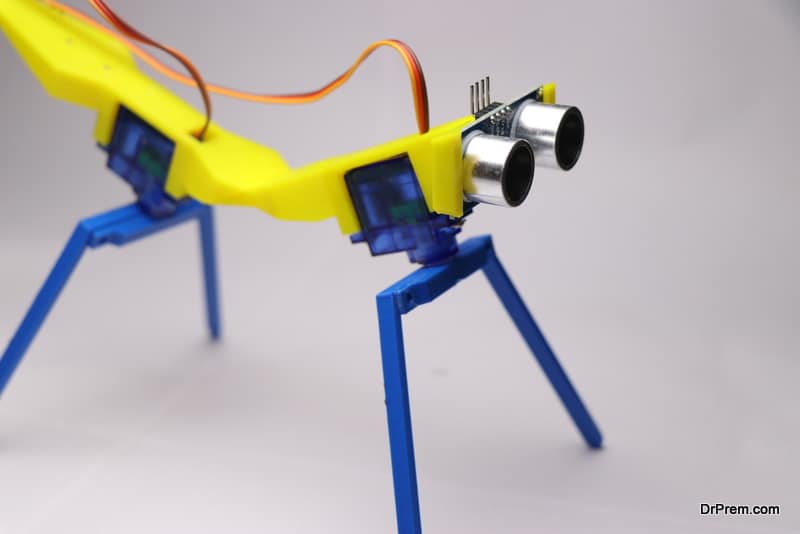
We live in an age where children have no incentive to “play” with toys anymore. Most toys for kids, especially for little boys, come with a fair degree of automation and the most they need to do with them is to turn them on through a button and watch them perform tricks. This kind of passive play is not engaging enough for the child who ends up getting bored with electronic toys very easily. However, of late the trend in children’s toys is turning from store bought to homemade and parents are viewing these DIY, at-home toy making activities as a way for them to bond with kids, teach them the basics of working with their hands as well as upcycling and how trash can be converted into something useful. Here is a fun project that will let you and your kids build a toy robot using basic recycled materials that you may find at home.
Things you’ll need:
Cardboard boxes in a bunch of sizes
Wire
Regular acrylic paint
Super glue
Insulation tape
Duct tape
Tin cans
Cardboard tubes
Parts from broken appliances including processor chips, wires, tiny screws etc
How to make a robot toy out of recycled materials
Before embarking on this project, you need to remember that it is a project for the kid and you need to ensure that the child gets to do a lot of the work. This could include dissembling broken gadgets and salvaging old chips, screws, wires out of them, you can also leave the painting and finishing of the toy to them though it is usually best to carefully supervise parts of the project where scissors etc. are needed.
To begin the project, determine how big a robot toy you want. A good rule of thumb would be to ascertain how large a body can the tin can legs of the robot hold. Remember that this body will also support robot arms and a robot head so a rough estimate of proportions would be needed.
Begin by preparing the body parts of the robot. You can wrap the torso of the robot in brown paper and give it any color you want. For effect, you can glue computer chips on its belly and have a bunch of wires running around it. None of these will have any electricity running through them so kids can be asked to do this part of the project too.
Once the torso is done, you need to add tin can legs to the robot. These need to be spaced evenly to ensure the robot can stay upright. Glue them at the right place under the robot’s torso and allow to dry.
Then you can add cardboard tubes to the robot’s sides to serve as arms. The final touch would be fashioning the robot’s face and head and this part needs to be left up to the kid to display their imagination. Once the robot’s arms, legs, torso and head have been glued together, paint can be used to add finishing touches.


