Photobooks are most popularly used to view and share images. You can create an album of pictures and portfolio. Adobe-Blurb partnership has integrated a book module with Lightroom version 4 and 5. The photo book can contain 20-240 pages, excluding its cover.

Various new features have been added to Lightroom5, but the process is similar as used earlier in Lightroom 4. You have to give your time to think and plan, and for a starter, the following steps will help guide your way to a great photobook.
Step-1: Get one started
From the library module, you can select the photos either sequentially or in groups. You can change this order anytime you want. Each of the images should be 300 dpi.
Now go to the module of the book. Make sure the preferences are always on default setting. All the images will fill in the pages once started.
After that, click on Create Save Book. Give a name for the book and click ok. You can open the book from the collections whenever you need. You just have to double click on the book name to open it again.
Step-2: Options Setting
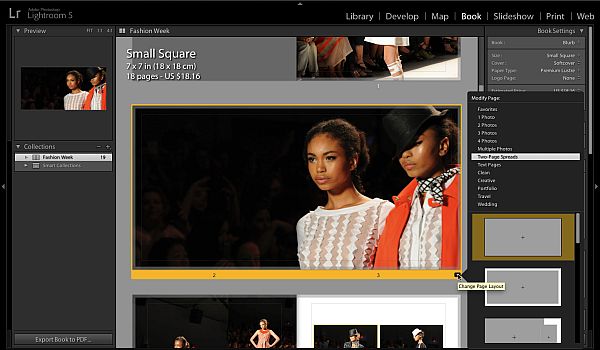
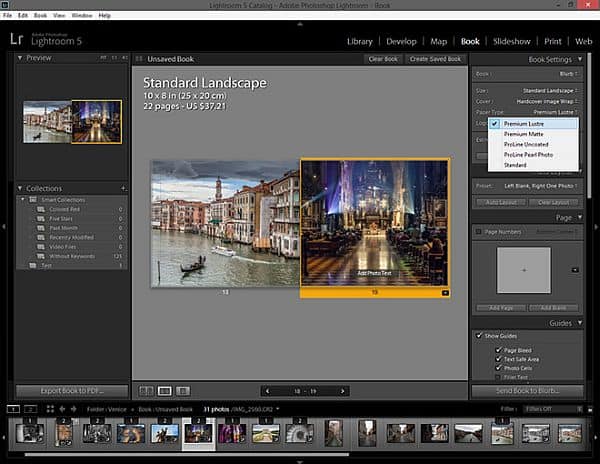
Go to book setting panel and use drop down menu to choose how to publish your book. You can select Blurb, Softcover, Square, and premium Lustre. From the logo page, you can choose a logo for your book or you can exclude it. You can see the estimated price of your book, which may vary when you will change specifications of your book.
Step- 3: customize the layout of your photo book
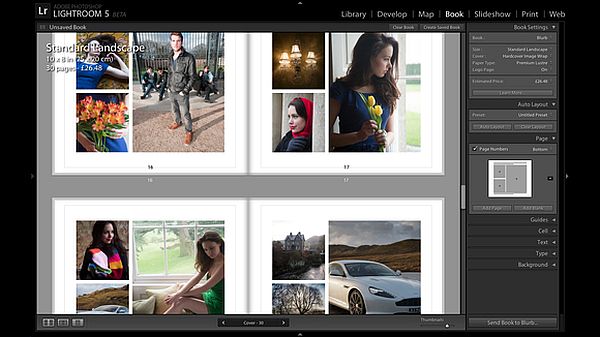
You have now several pages of you book and you can arrange them sequentially simply by making use of “drag and drop” or you could use a preset layout to customize them. Once you chose a layout, you need to drag and drop all images into one page.

To remove or to add a page you just need to right click on that page and you can choose the options:
- Remove page
- Add blank page
- Add page to duplicate the same layouts
You can apply your custom layout to the other pages in the page panel. You can change the image size and position just by following steps:
- Click image on the page and resize it with zoom slider.
- If you want to change the position of the images then use trackpad or mouse. Further, you can use padding sliders in the cell panel to adjust the size and position of the image.
Sep-4: Adding text onto the page
You can use the Type panel to customize the font face, color, style and opacity. In the Text panel, you can see photo text and page text. Type the captions for them and it will directly appeared to you in the spaces provided.
Step-5: Insert or remove page numbers
One can easily insert or remove page numbers from the page panel. Look for the page number in the page panel. Using drop down menu numbers can be place. If you need to hide page number then you can choose the options by right clicking on the page.
Step -6: Apply background
You can choose various graphics or images to apply on background. For graphic background just drag and drop a photo onto the “Drop photo here” placeholder window. You can also adjust the opacity of the background.
Step-7: Add cover
To add the cover in your book, click the small arrow on the lower right of the page. Select the layout of the cover. You can also add text for spine for hardcover books.
Summary:
The above steps are a brief overview of the concept of photobook with lightroom5. Go ahead and publish your own photobook just applying these simple steps.